Holiday How-To: How to Wrap a Present
Struggling to perfect your holiday package-wrapping this season? Take a look at this article showing a step-by-step tutorial on how to wrap the perfect present!

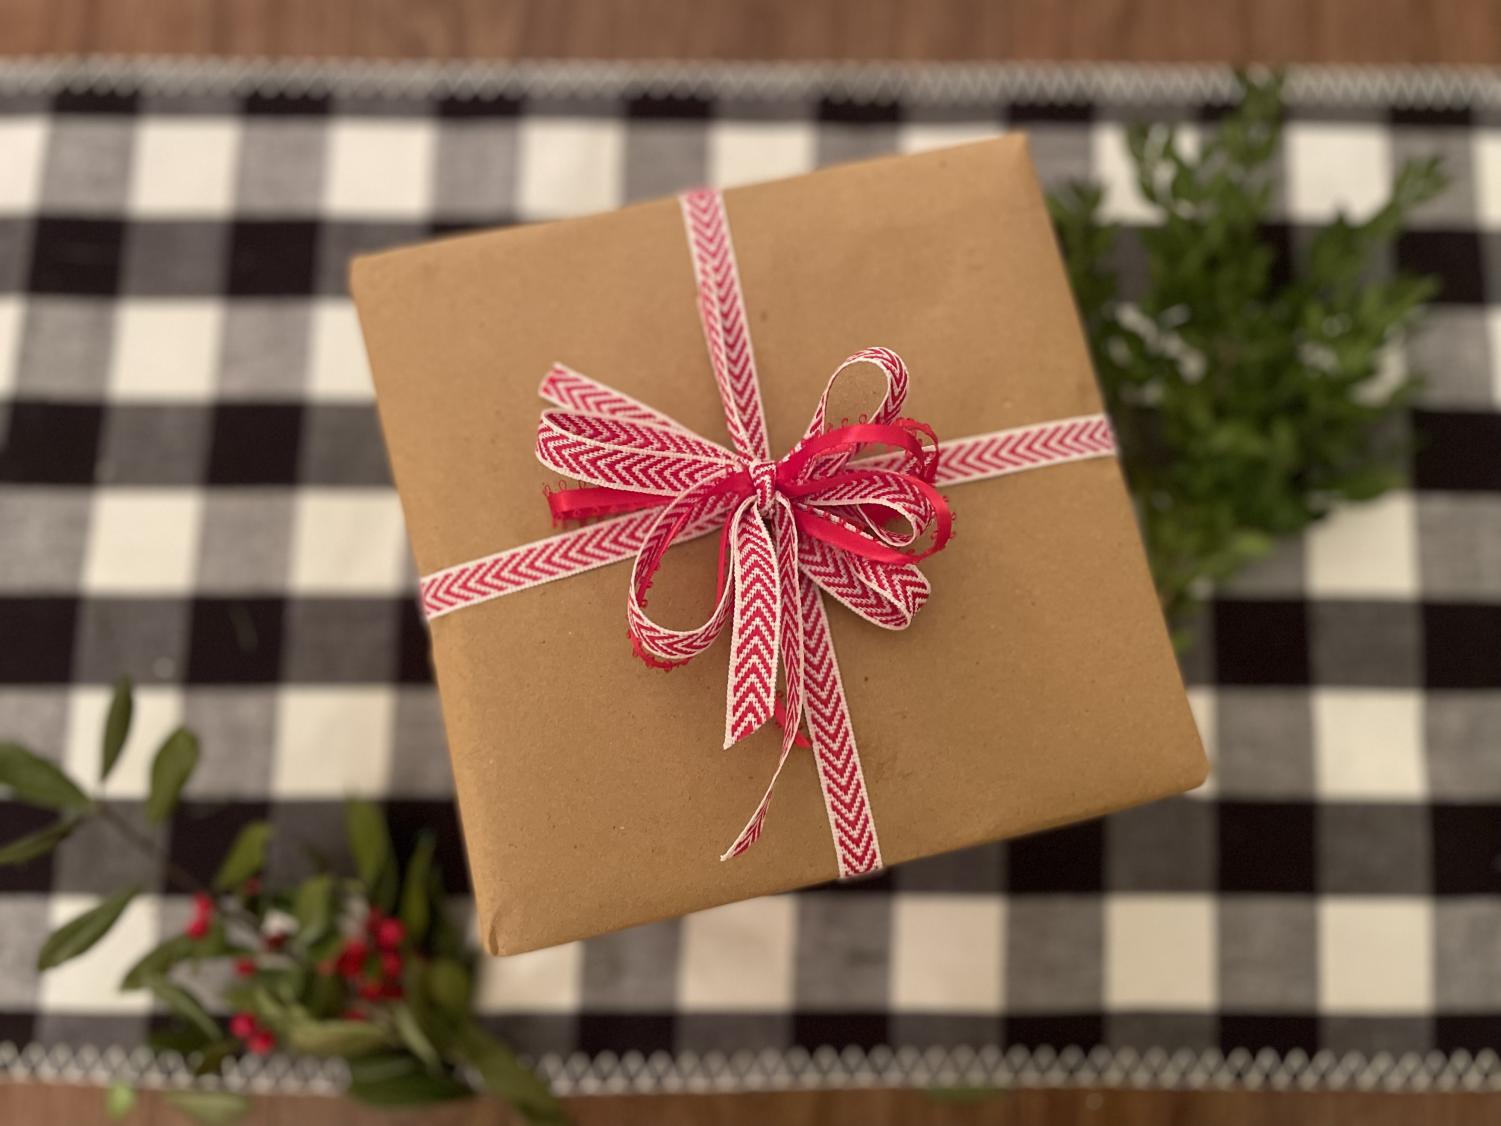
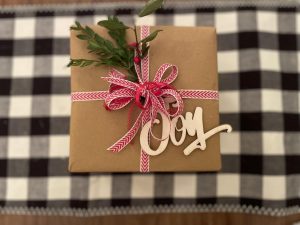
Fluff up your bow, add some decorations or a gift tag, and you’re done! You’ve successfully wrapped a beautiful package to give to any of your loved ones for the holidays.
With the holiday season quickly approaching, many of us are rushing to finish up our Christmas shopping for each of our loved ones. Once you’ve bought all your gifts, the next step is to get everything wrapped; however, gift-wrapping can be challenging, especially when you want to do it right. If you’d like to wow your friends and family with your expertly wrapped packages, click below and follow each step!
The materials you’ll need are:
- Scotch tape
- Sharp scissors
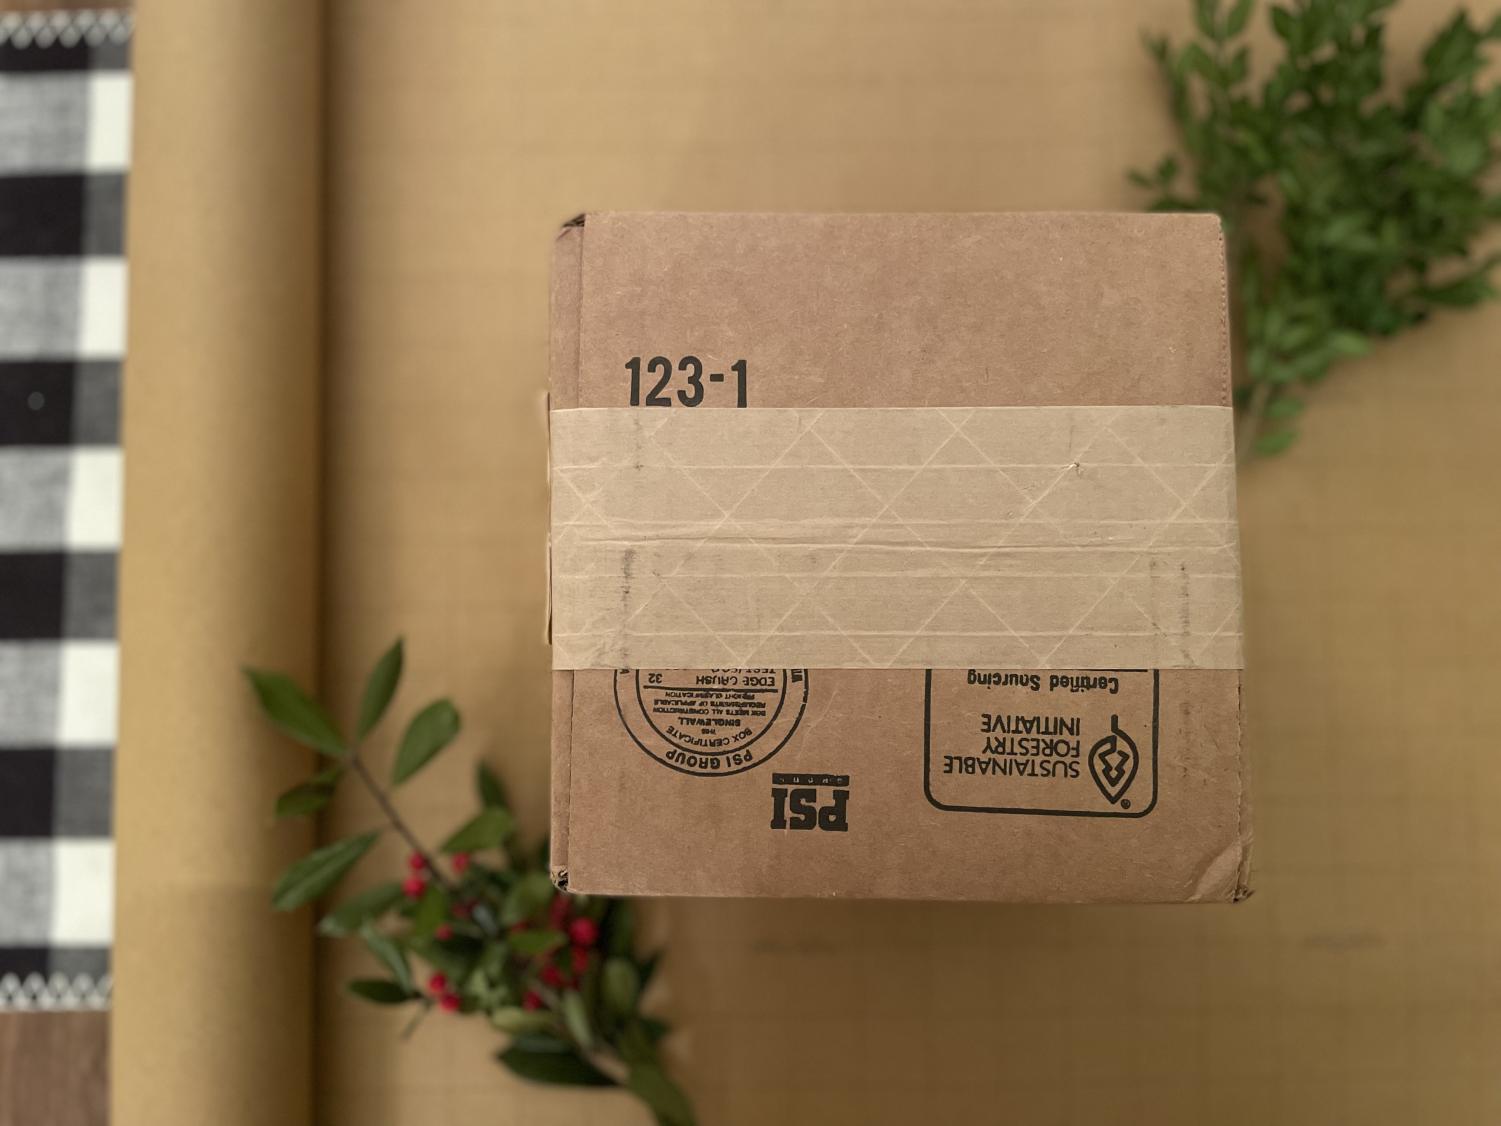
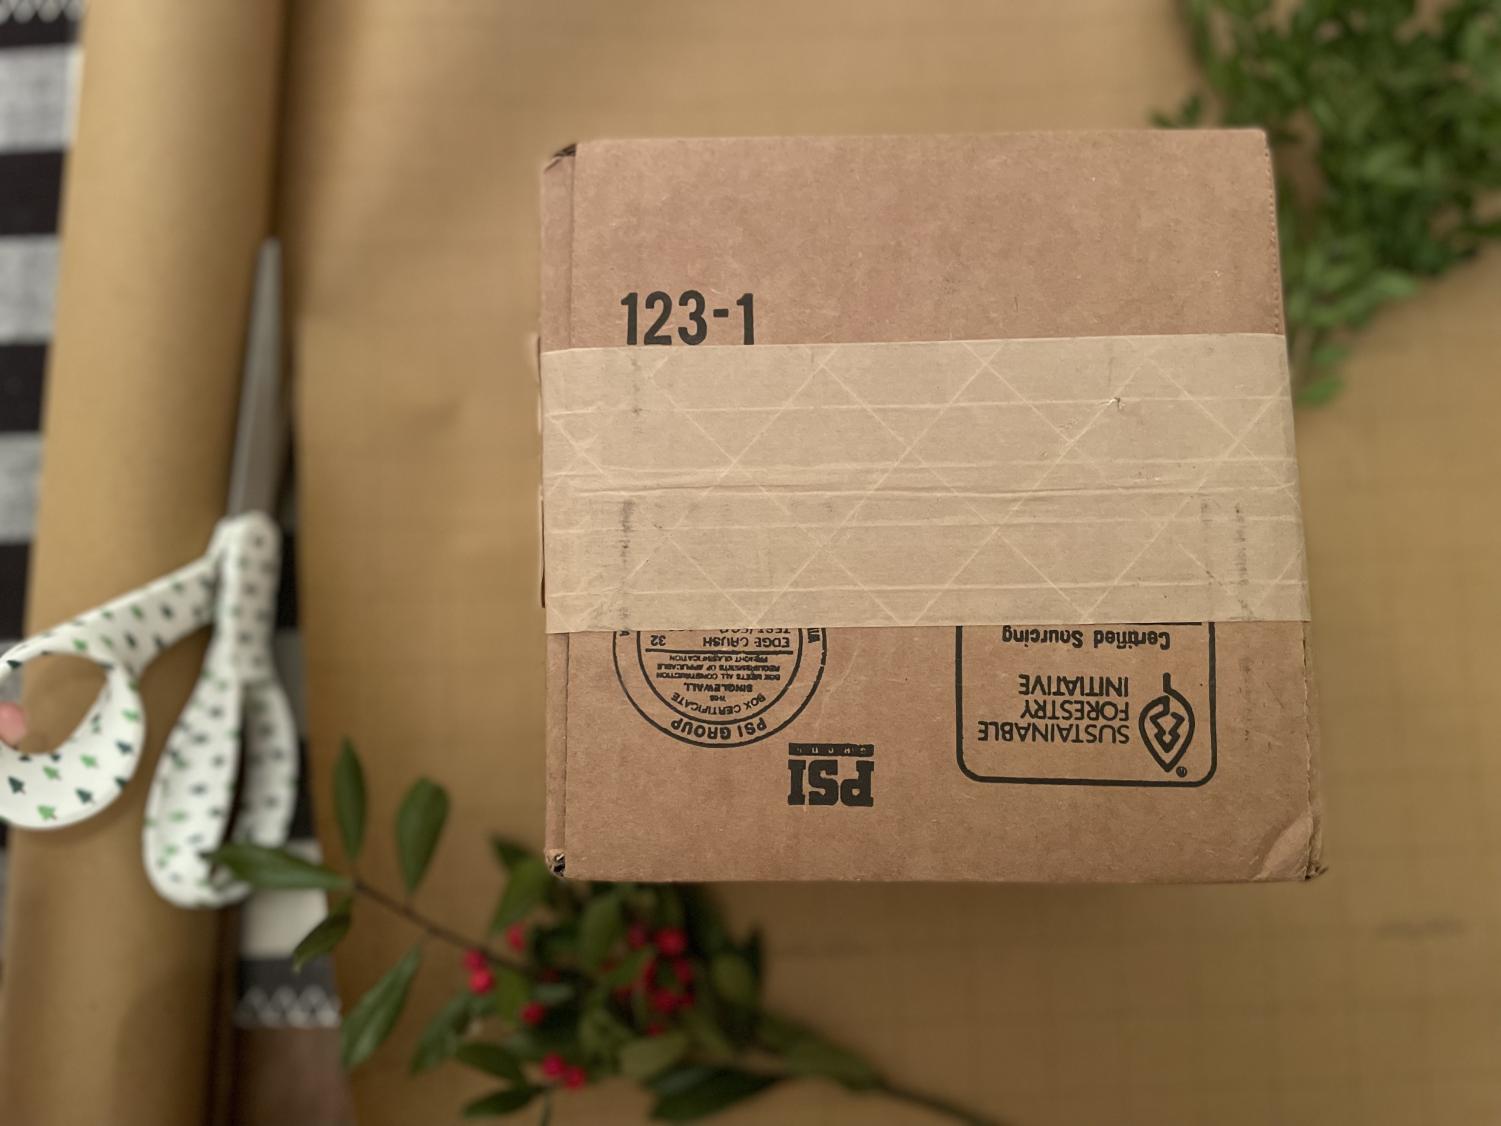
- A rectangular box
- Wrapping paper
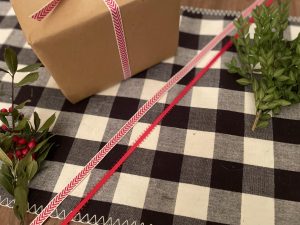
- Ribbon (different colors is optional)
- Decorations (greenery, gift tags, bells, etc.)
-
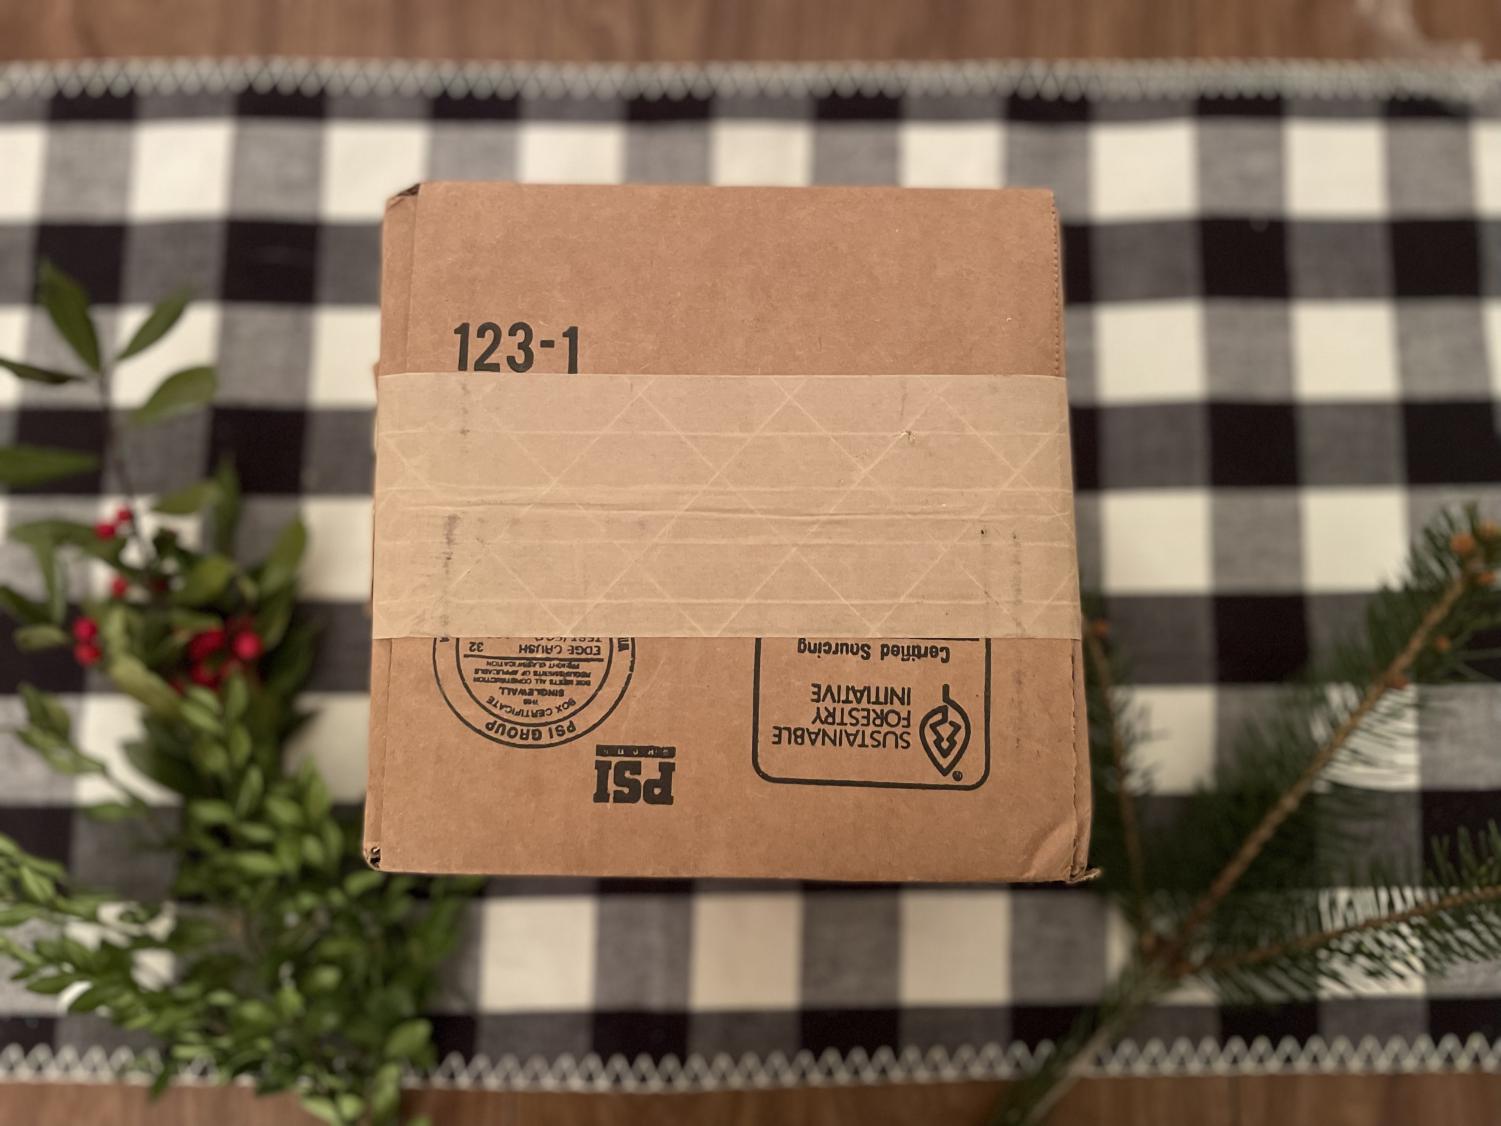
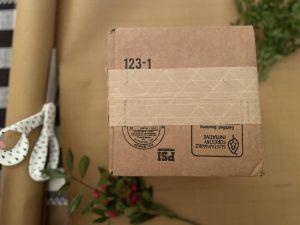
Begin with your box, ensuring that your gift fits well inside and is not moving around too much. The open sides should be taped down securely.
-
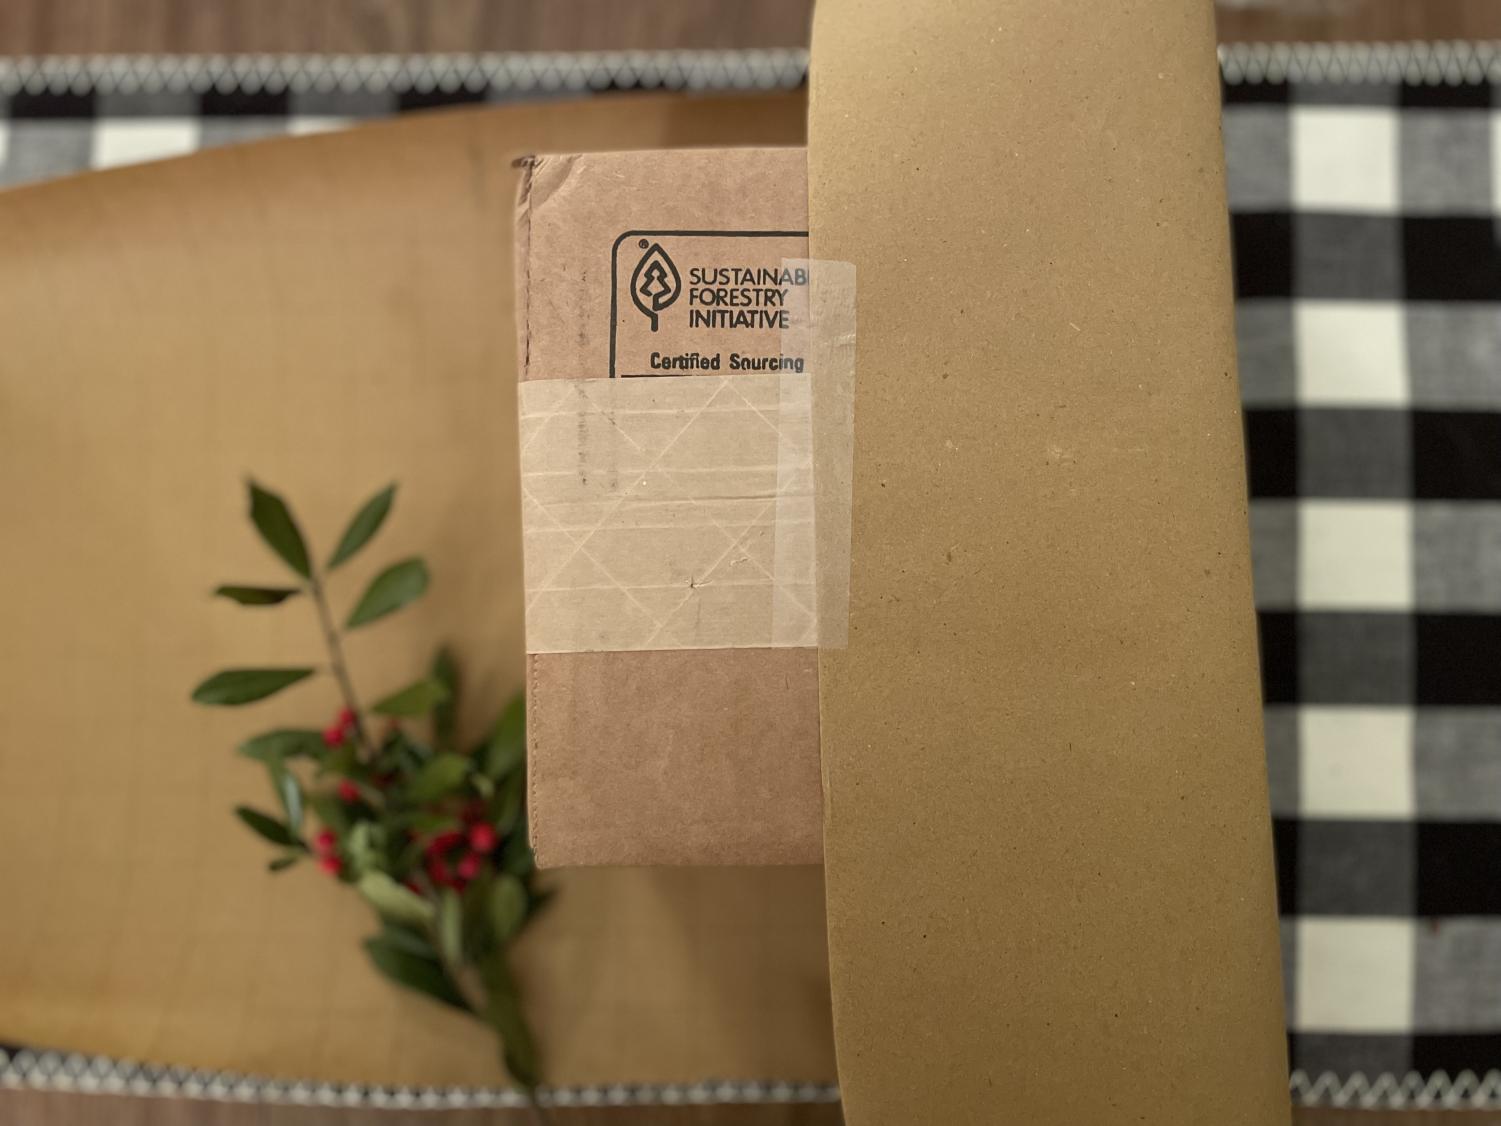
Roll out your paper so that the underside is facing up. Make sure that your paper on the opposite side of the roll can fit across your package to meet in the middle.
-
Cut the paper in a straight line, making sure that each side is even and equal. Remember, you can always cut some off but you cannot add more on.
-
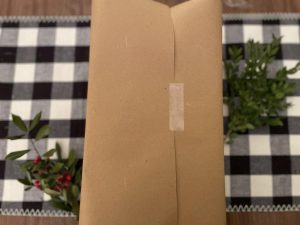
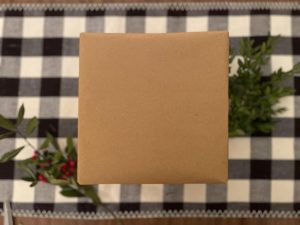
Once your paper is cut, begin by folding one side up to meet in the middle at the top of your package. Tape this side down to your box, making sure that the paper is pulled tight.
-
Repeat on the other side, cutting off any excess so that your paper does not wrap around to the other side.

-
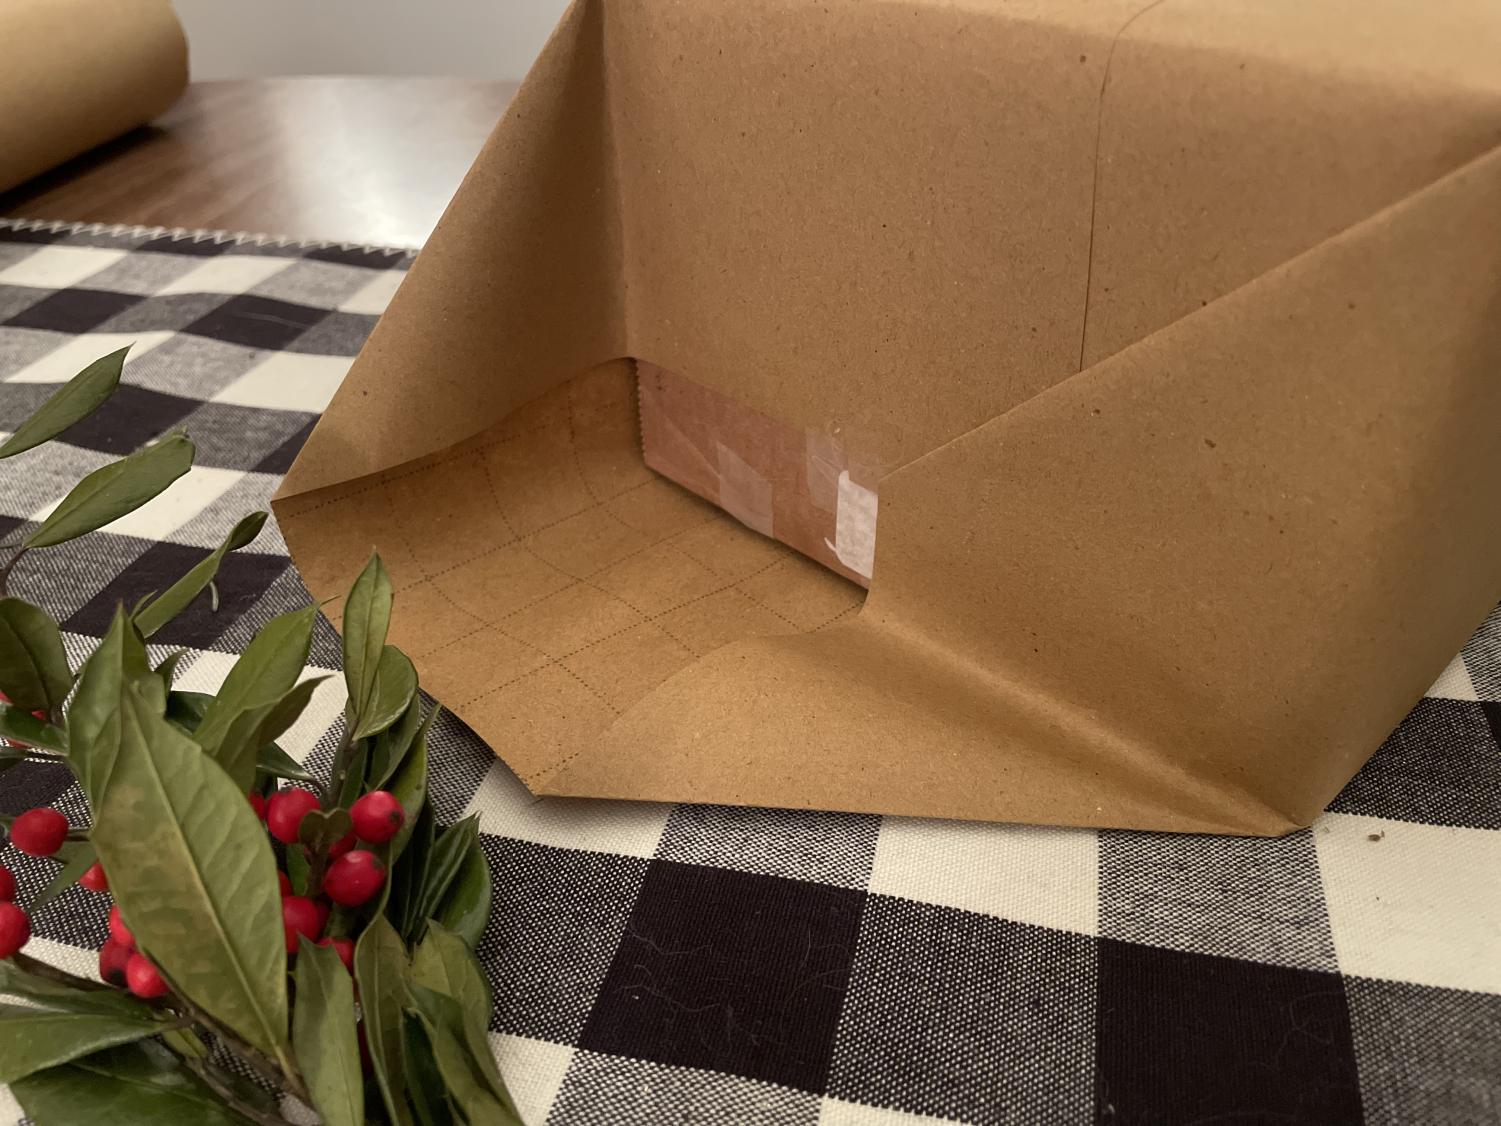
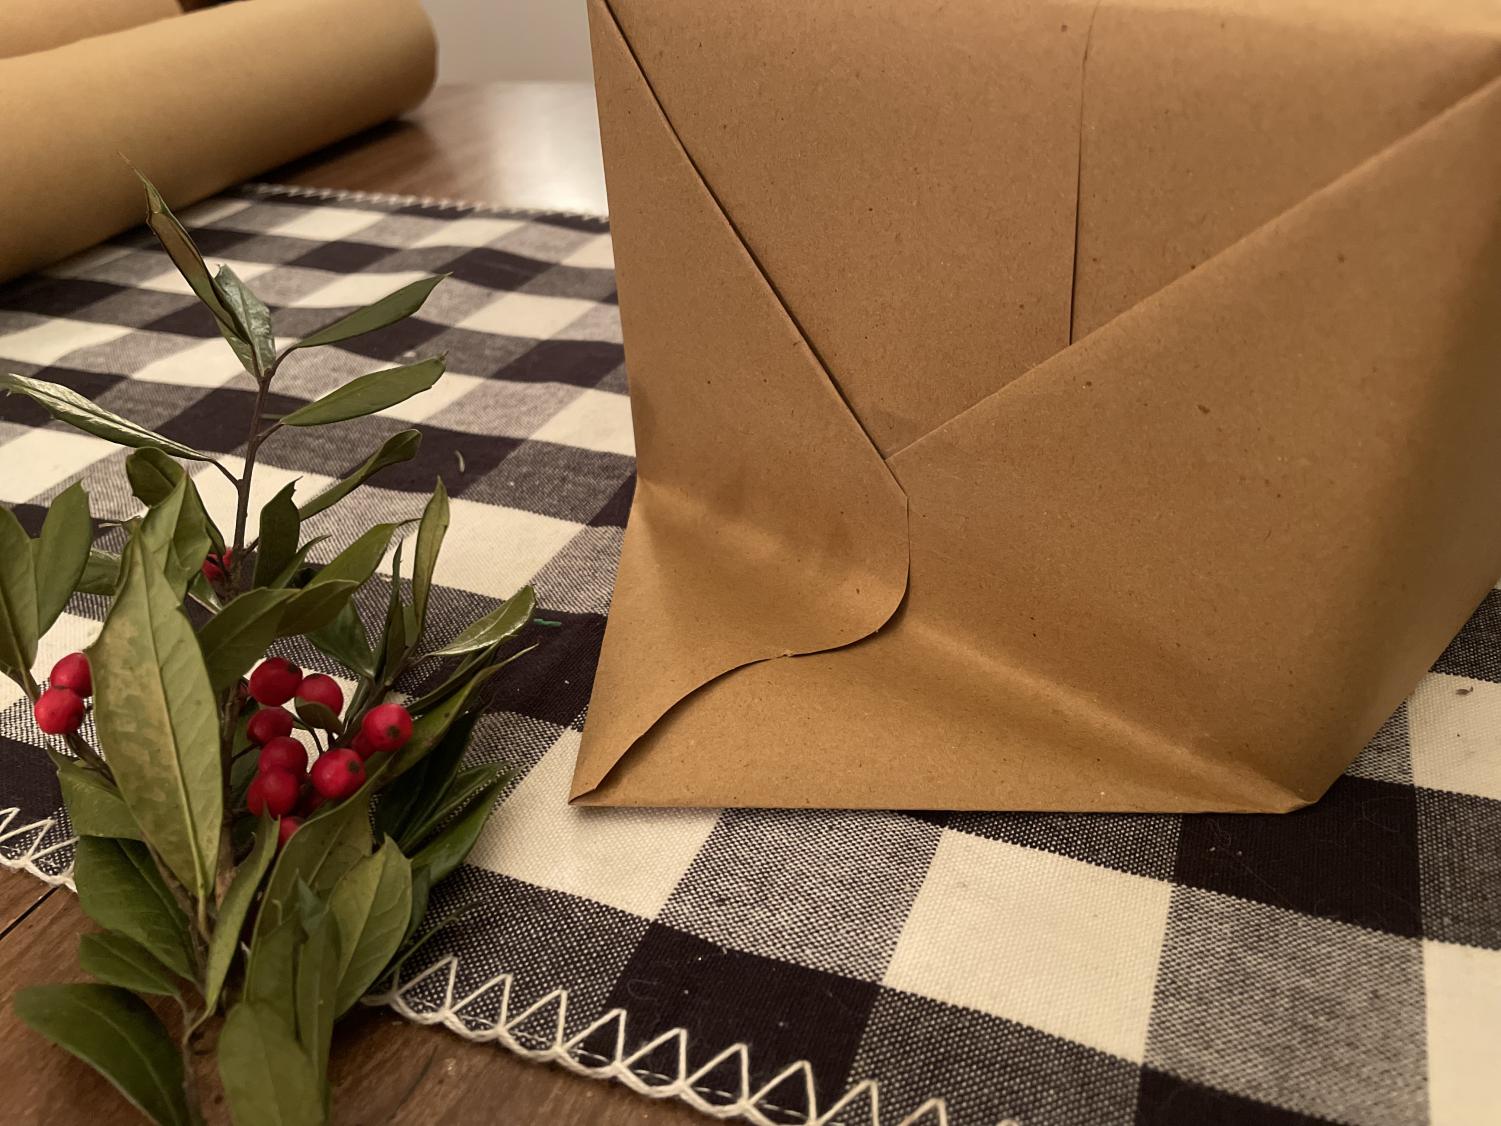
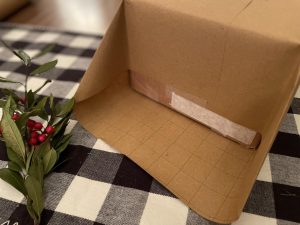
Once both sides of your paper are taped down, begin work on the sides. Fold the top down to create two triangles on either side, and tape it down to the box. Crease each triangle.

-
Fold down one of the triangles so that it is flat to the box. Tape this down and crease on the bottom.
-
Repeat this on the other side. You should be left with another triangle ready to be folded up to complete the side.
-
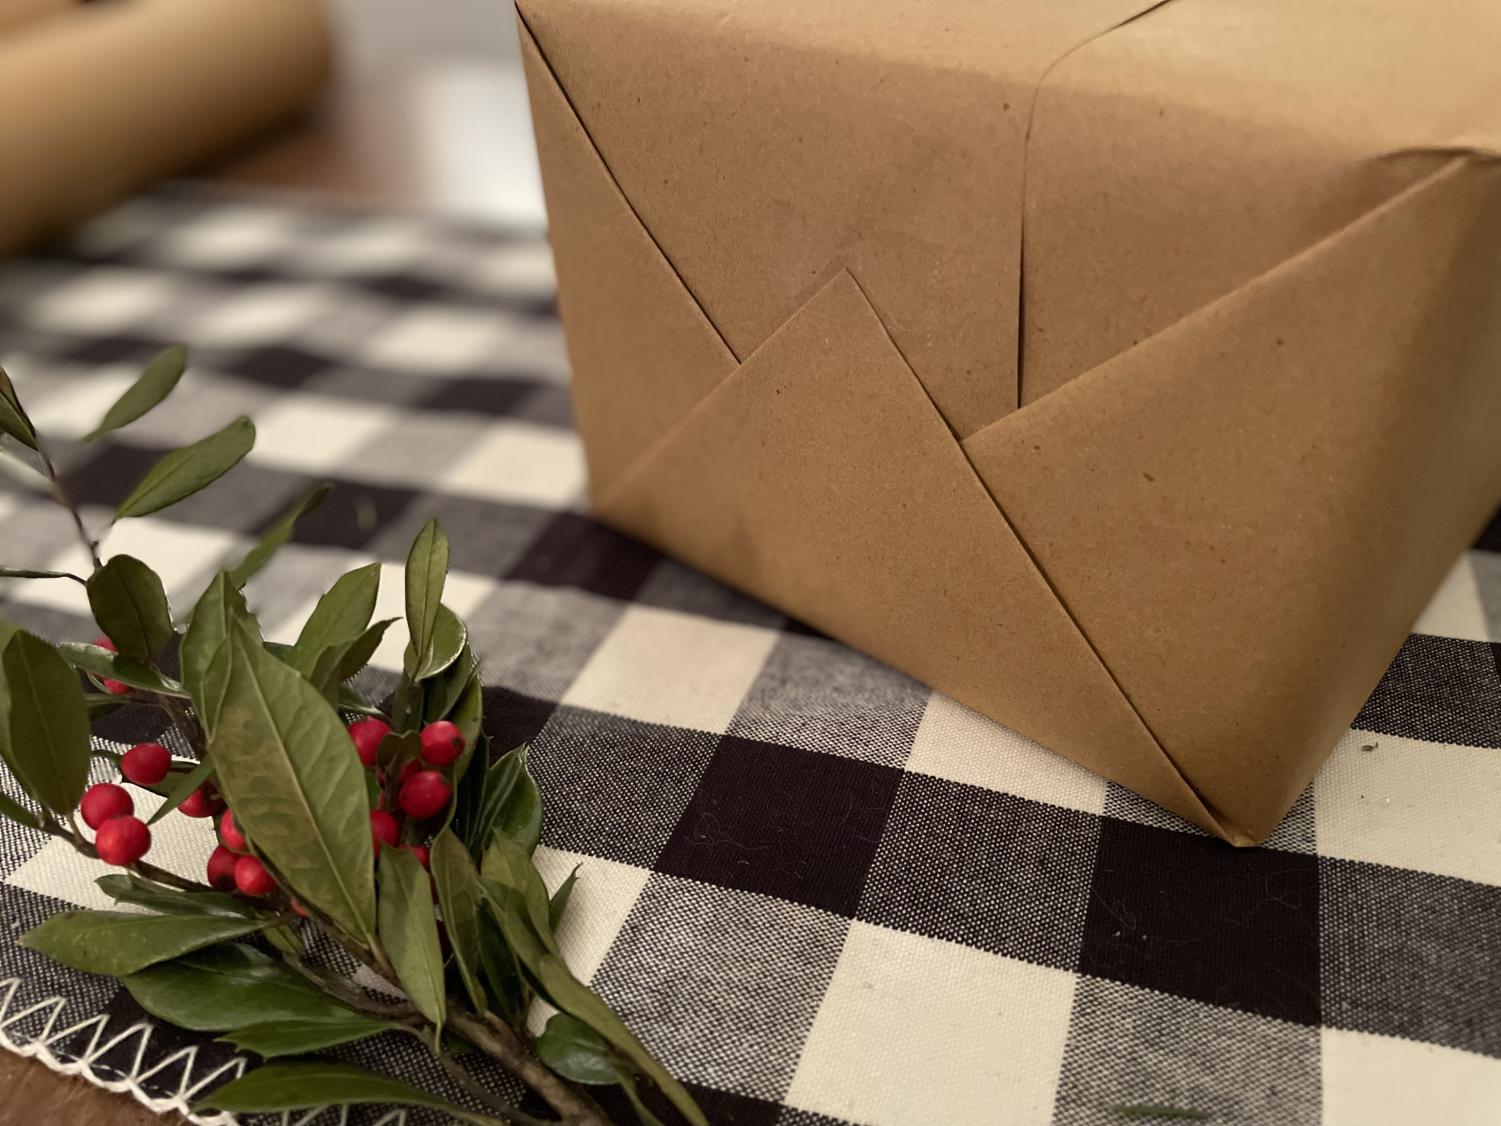
Fold up the middle triangle and tape this down. Repeat on the opposite side.
-
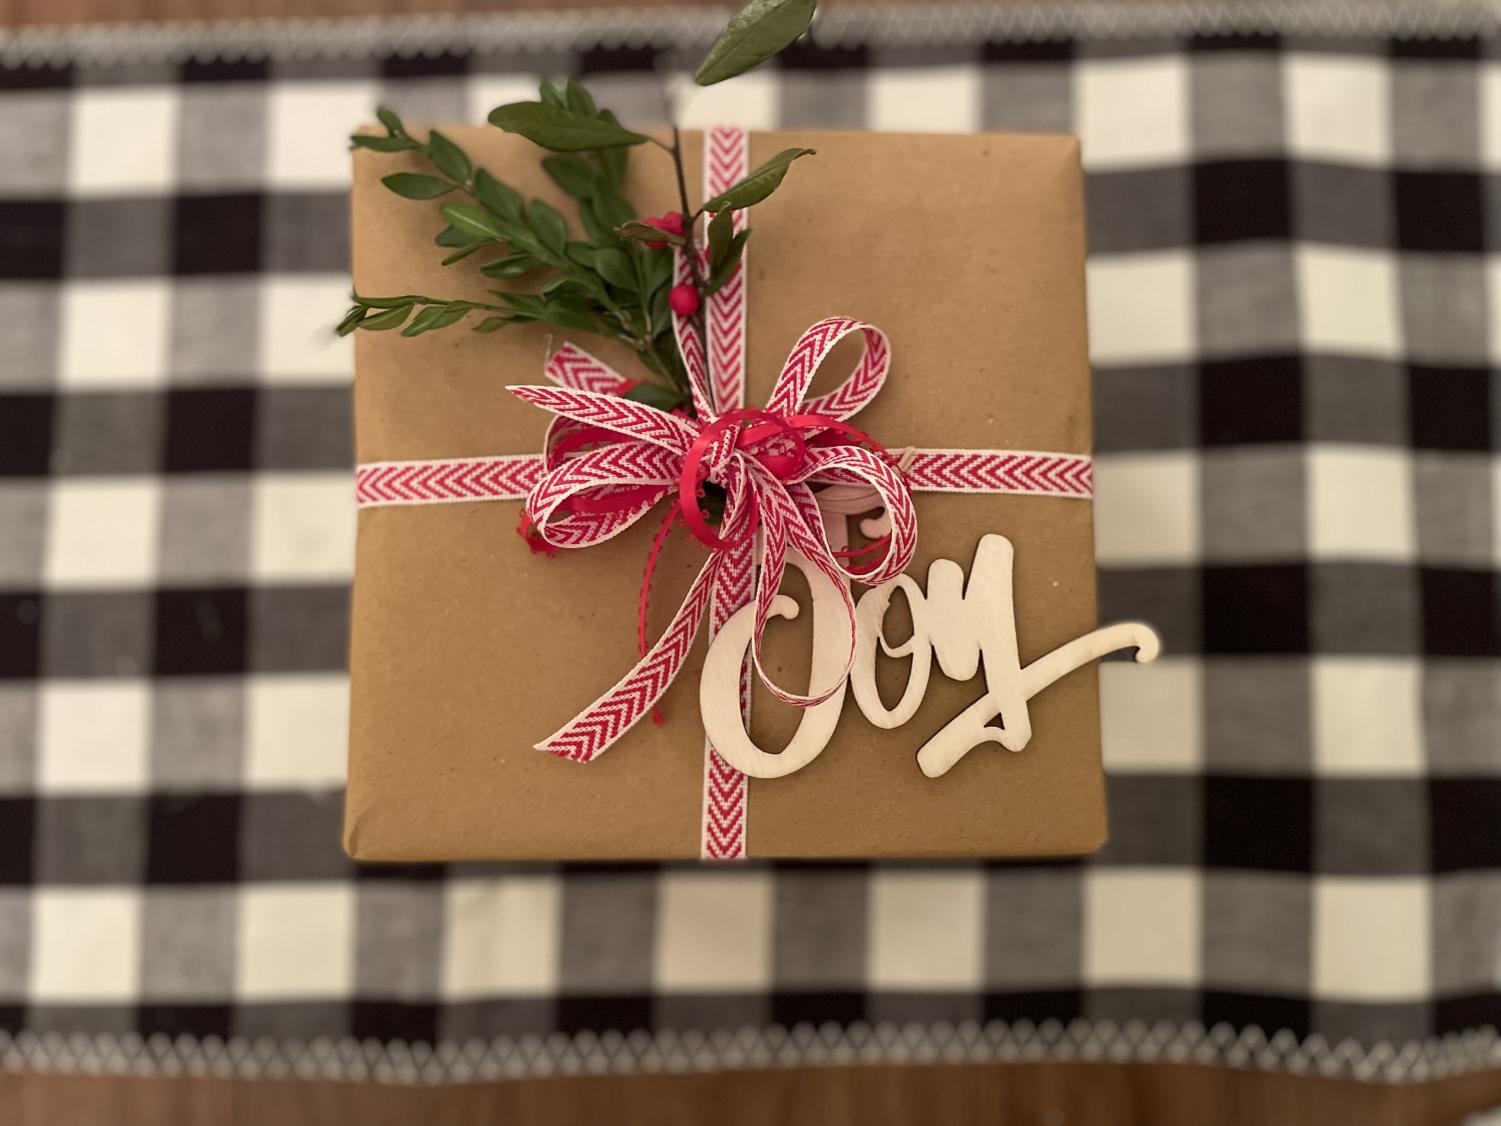
Congratulations! You’ve successfully wrapped your gift. You could stop here, or continue if you would like to add some details.

-
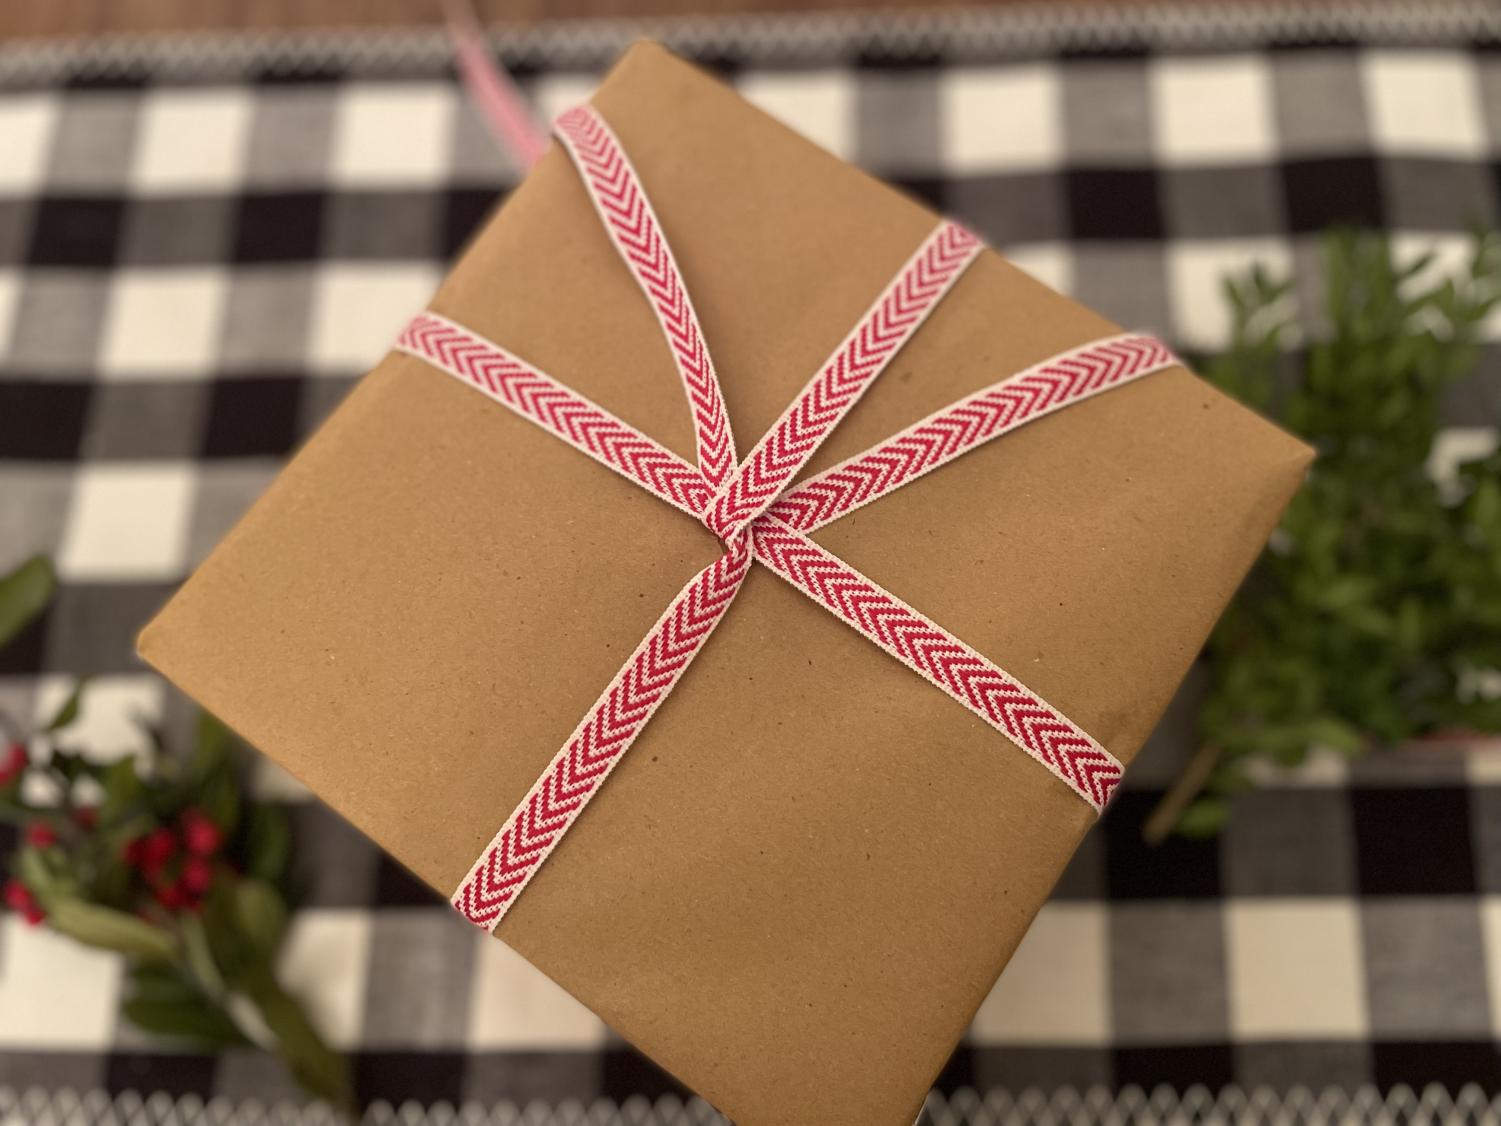
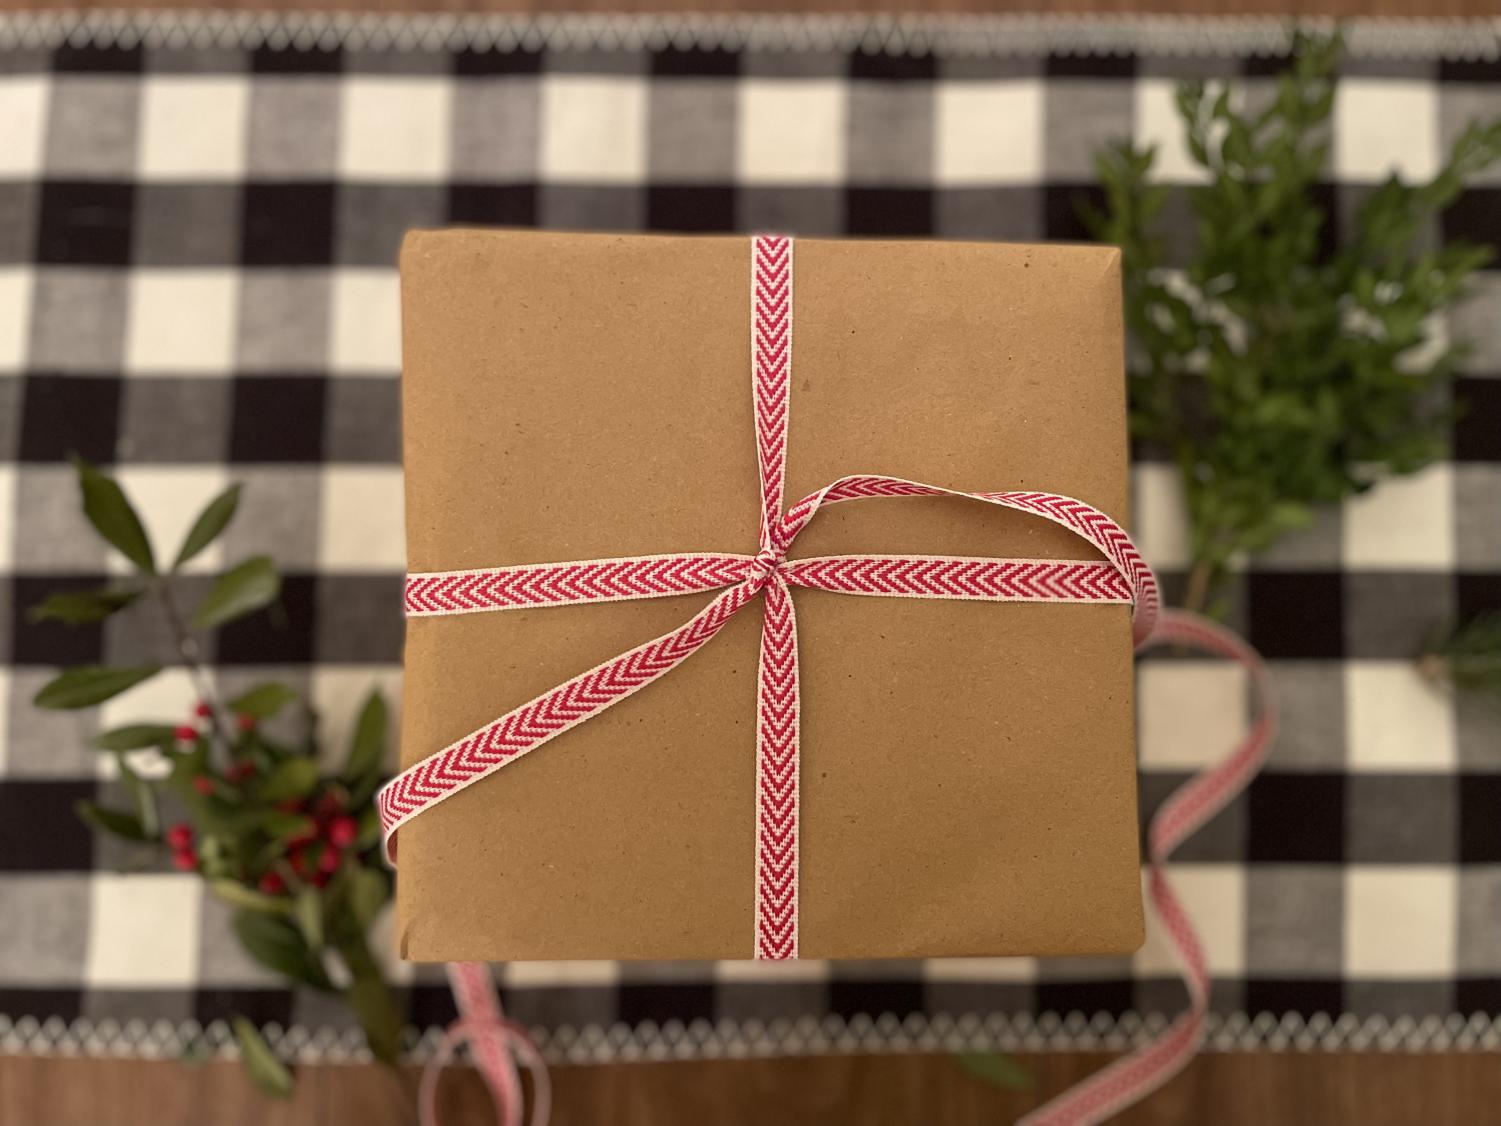
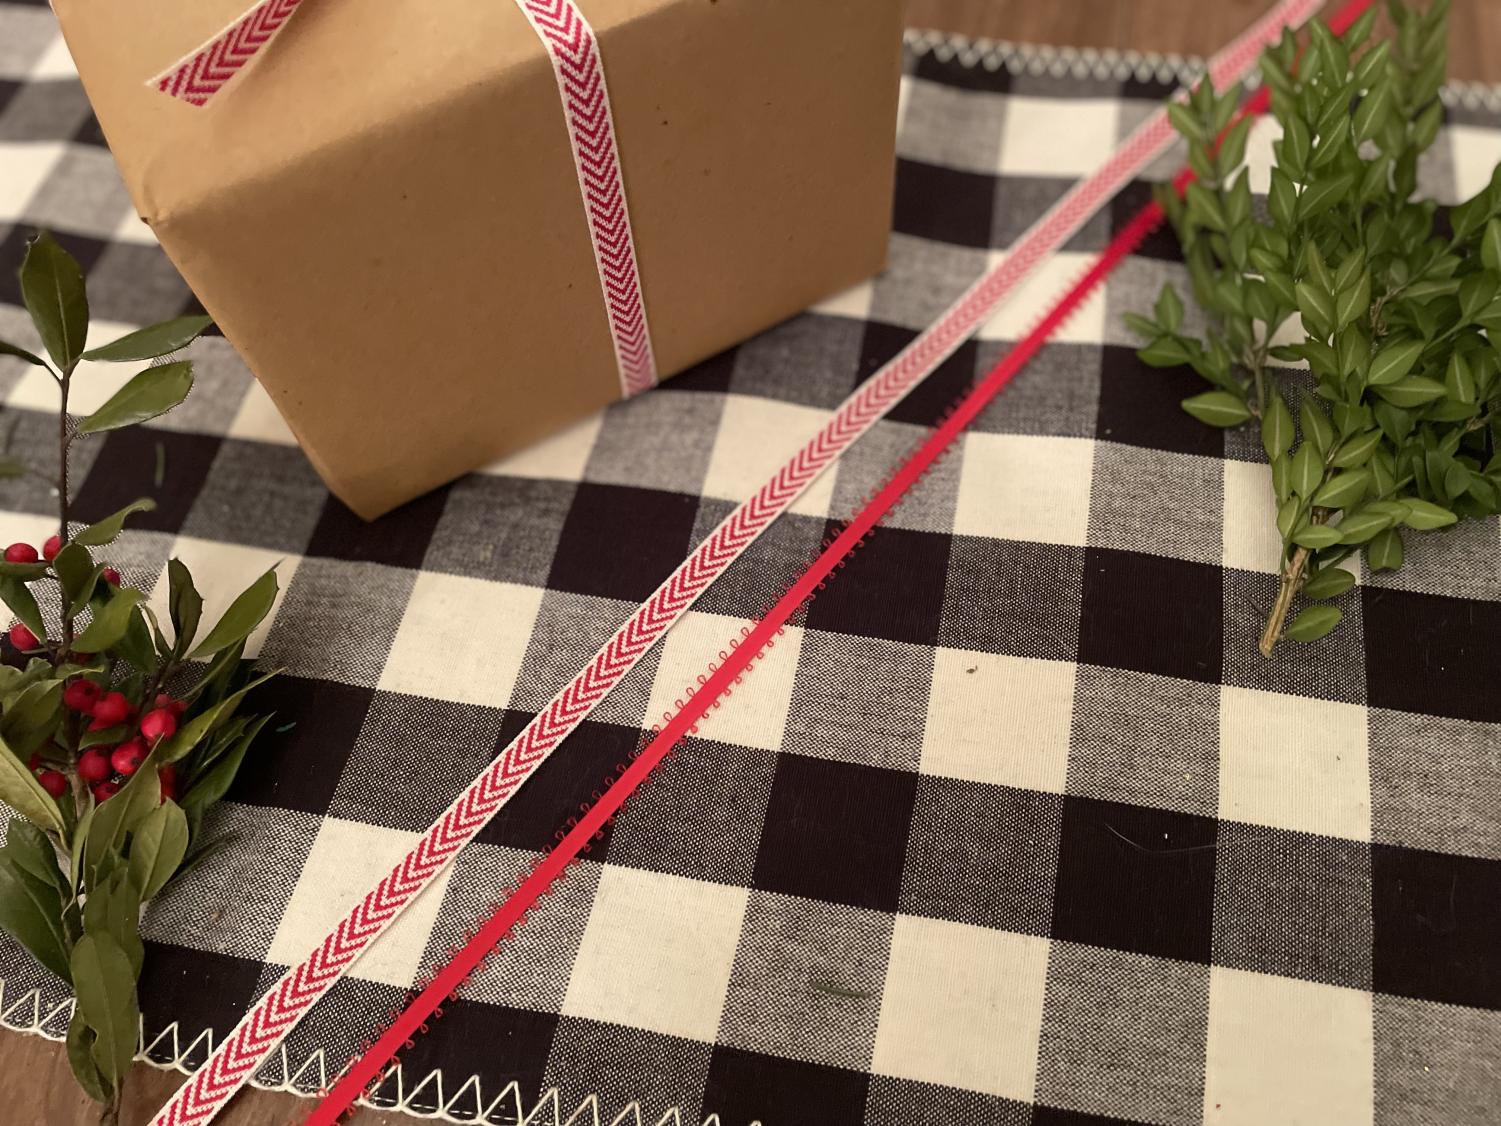
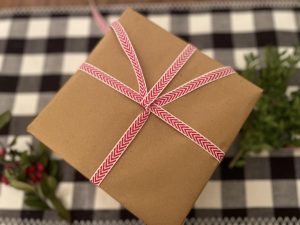
For a simple bow, begin by measuring out your ribbon so you have enough to go around the gift twice. Make sure each side is even. Cross the ribbon over itself on the underside of the gift, and tuck one end underneath the existing ribbon. Tie a tight knot with each end.
-
After you tie your knot, it should look something like this! Remember, to prevent the ribbon from slipping off, everything should be tied very tight to the package.
-
If your ribbon ends are a bit long, trim them at an angle. Not too close, however; you want some length to be able to add a bow.

-
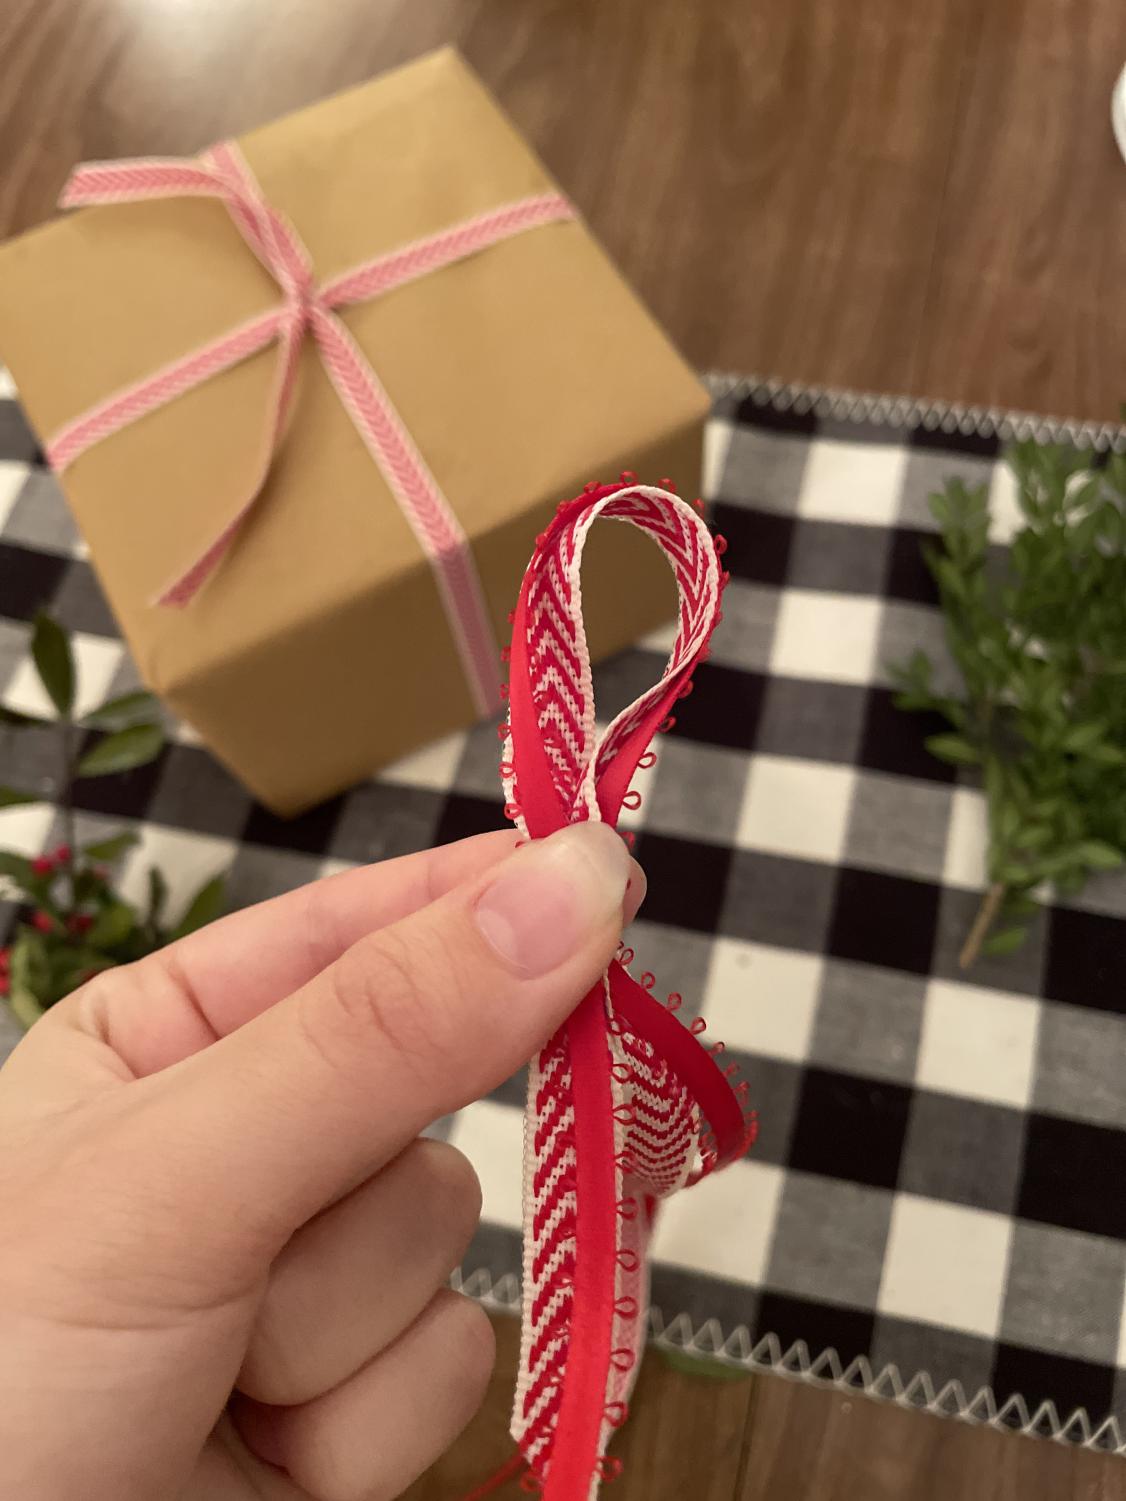
For your bow, begin by measuring out your ribbon. For larger bows, longer ribbon, and for smaller bows, shorter ribbon. Make sure that if you’re using two different kinds of ribbon that they are the same length.
-
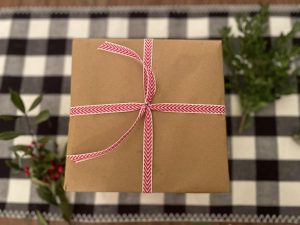
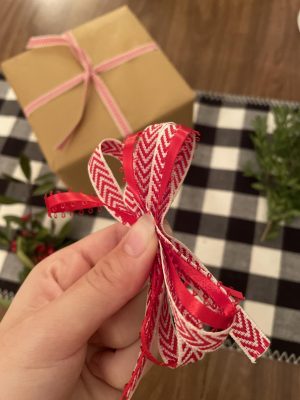
Start your bow by gathering each piece of ribbon at an equal length, making one loop and pinching it tight.
-
Continue making loops on each side until you run out of ribbon, making sure to pinch the bow tight in the middle.
-
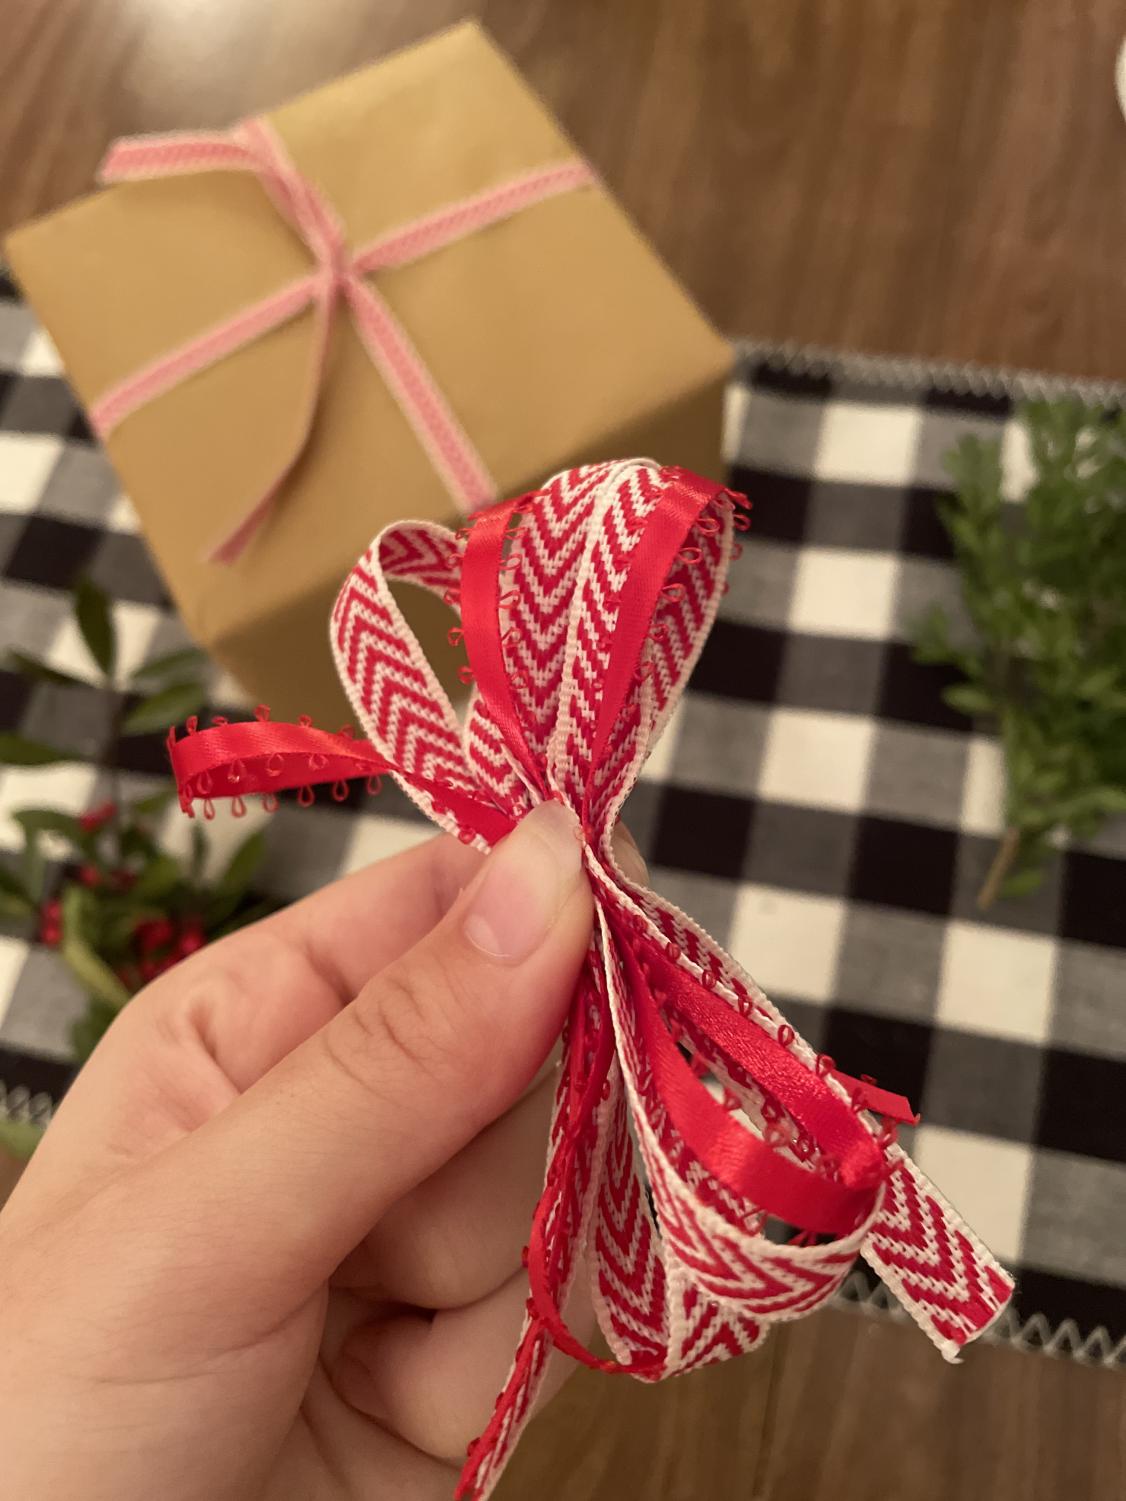
Without taking your fingers off the bow to ensure it does not come apart, place it in the middle of your knot and tie each end of your ribbon from earlier around your bow, tying another tight knot.
-
Fluff up your bow, add some decorations or a gift tag, and you’re done! You’ve successfully wrapped a beautiful package to give to any of your loved ones for the holidays.


Lily Savage is a senior this year at Woodford County High School. This is her fourth and last year writing for The Jacket Journal, and she is thrilled...